network
1 | docker network create op_net |
mysql
linux:
1 | sudo docker run -d \ |
windows:
1 | docker run -d ` |
rabbitmq
linux:
1 | sudo docker run -d \ |
windows:
1 | docker run -d ` |
redis
linux:
1 | sudo docker run -d \ |
windows:
1 | docker run -d ` |
访问redis
linux:sudo docker run -it --network op_net --rm redis redis-cli -h redis
windows:docker run -it --network op_net --rm redis redis-cli -h redis
opnezipkin
linux:
1 | sudo docker run -d \ |
windows:
1 | docker run -d ` |
zookeeper
linux:
1 | sudo docker run -d \ |
windows:
1 | docker run -d ` |
访问zookeeper
linux:sudo docker run -it --network op_net --rm zookeeper zkCli.sh -server zookeeper
windows:docker run -it --network op_net --rm zookeeper zkCli.sh -server zookeeper
kafka
linux:
1 | sudo docker run -d \ |
windows:
1 | docker run -d ` |
创建主题
- 进入容器:
sudo docker exec -it kafka /bin/bash - 创建主题:
/opt/kafka/bin/kafka-topics.sh --create --replication-factor 1 --partitions 1 --zookeeper zookeeper:2181 --topic yoyo-mall-log - 查询主题:
/opt/kafka/bin/kafka-topics.sh --list --zookeeper zookeeper:2181
配置logstash
- 执行
sudo docker exec -it elk /bin/bash进入容器 - 打开文件:
vi /etc/logstash/conf.d/02-beats-input.conf - 修改后配置:
1
2
3
4
5
6
7
8
9
10
11
12
13
14
15
16
17
18input {
tcp {
port => 5044
codec => json_lines
}
kafka {
bootstrap_servers => "192.168.0.107:9092"
topics => ["yoyo-mall-log"]
}
}
output{
elasticsearch {
hosts => ["localhost:9200"]
index => "yoyo-mall-log"
}
}
kafka-manager
1 | sudo docker run -d \ |
elk
linux:
1 | sudo docker run -d \ |
windows:
1 | docker run -d ` |
修改配置
linux下运行elk镜像,要求vm.max_map_count至少为262144,否则启动会报错:。
在“/etc/sysctl.conf”文件末行添加:vm.max_map_count=262144,然后执行sudo /sbin/sysctl -p使配置立即生效。
配置logstash
- 执行
sudo docker exec -it elk /bin/bash进入容器 - 打开文件:
vi /etc/logstash/conf.d/02-beats-input.conf - 修改配置:
原配置:修改后配置:1
2
3
4
5
6
7
8input {
beats {
port => 5044
ssl => true
ssl_certificate => "/etc/pki/tls/certs/logstash-beats.crt"
ssl_key => "/etc/pki/tls/private/logstash-beats.key"
}
}1
2
3
4
5
6
7
8
9
10
11
12input {
tcp {
port => 5044
codec => json_lines
}
}
output{
elasticsearch {
hosts => ["localhost:9200"]
}
} - 重启容器:`sudo docker restart elk
nexus
linux:
1 | sudo docker run -d \ |
windows:
1 | docker run -d ` |
更改权限
如果启动时报错:
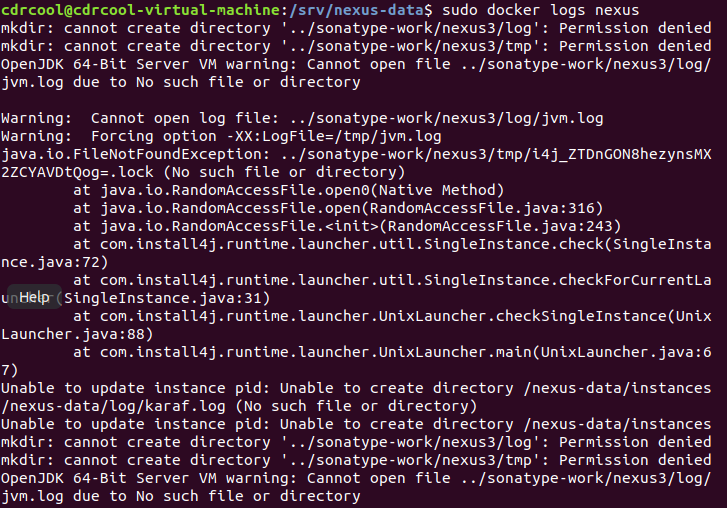
执行命令:sudo chmod 777 /srv/nexus-data
gitlab
参考:https://docs.gitlab.com/omnibus/docker/
linux:
1 | sudo docker run --detach \ |
windows:
1 | docker run --detach ` |
配置ip&端口
sudo vi /srv/gitlab/config/gitlab.rb
修改以下三行配置:
1 | external_url 'http://172.16.78.80:10080' |
其中,172.16.78.80为宿主机的ip地址,可以通过ip addr查看;10080、10022则分别为80和22映射到宿主机的端口。
之后重启:sudo docker restart gitlab
创建ssh key
参考:https://docs.gitlab.com/ee/ssh/README.html#adding-an-ssh-key-to-your-gitlab-account
gitlab启动之后,会提示“You won’t be able to pull or push project code via SSH until you add an SSH key to your profile”。
需要配置ssh key:
- 检查是否已有key:
cat ~/.ssh/id_rsa.pub; - 如果没有,则创建:
ssh-keygen -o -t rsa -b 4096 -C "email@example.com",不断回车; - 复制创建的ssh key,然后添加到gitlab中;
 - 检查:
ssh -T git@172.16.78.80(需要前完成步骤4,且之后还提示需要密码,解决办法待研究:https://www.jianshu.com/p/e946acf9f26e)。
安装ssh server
1 | sudo apt-get install openssh-server |
配置jenkins
linux:
1 | sudo docker run -d \ |
windows:
1 | docker run -d ` |
上面8761及之后的端口都是jenkins中部署的项目所用到的端口。
解锁
第一次进入jenkins,会提示:

执行命令:sudo docker exec -it jenkins /bin/bash进入docker容器,再执行命令cat /var/jenkins_home/secrets/initialAdminPassword查看密码,然后将密码拷贝到界面继续。
安装插件
选择“安装推荐的插件”
配置jdk/git/maven
进入管理界面:
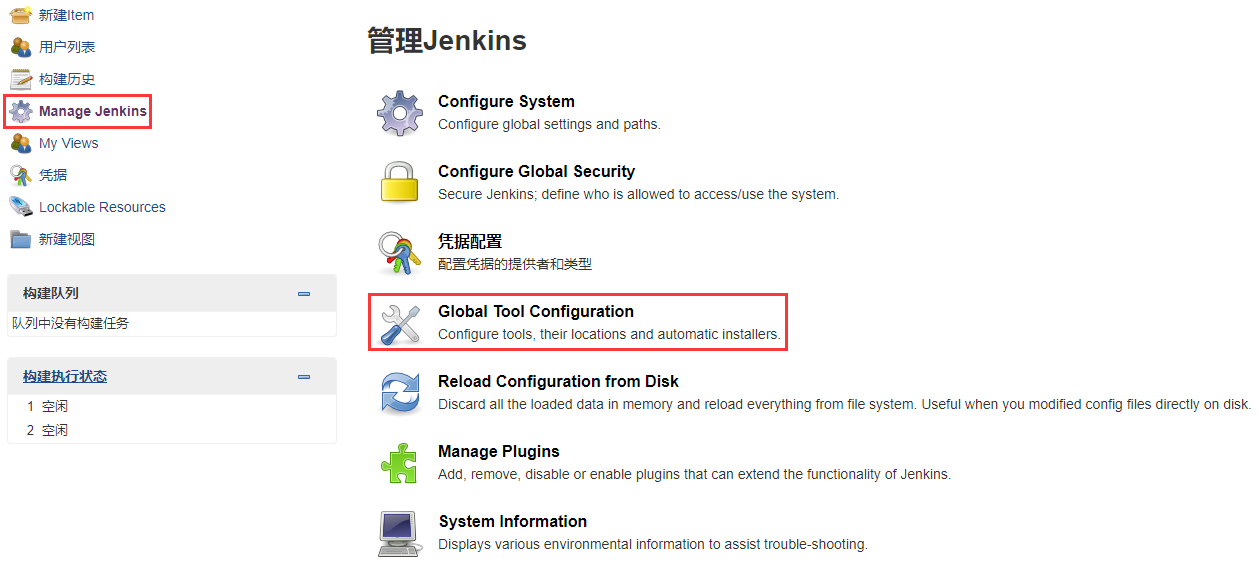
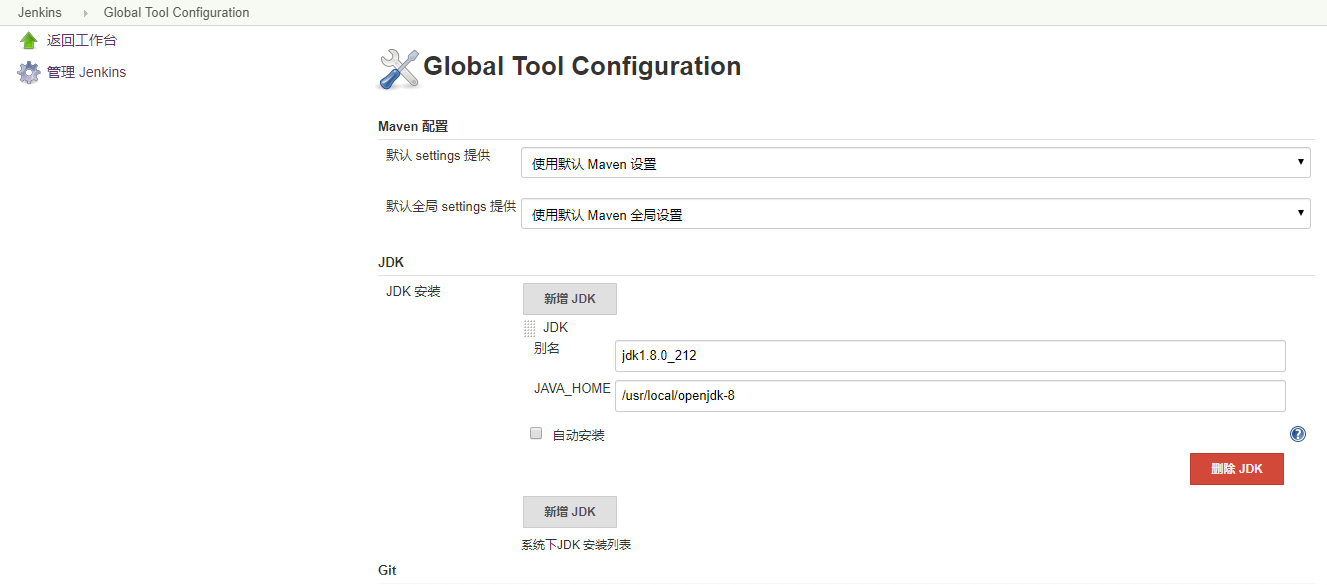
ps: JAVA_HOME地址可以通过命令echo $JAVA_HOME查询


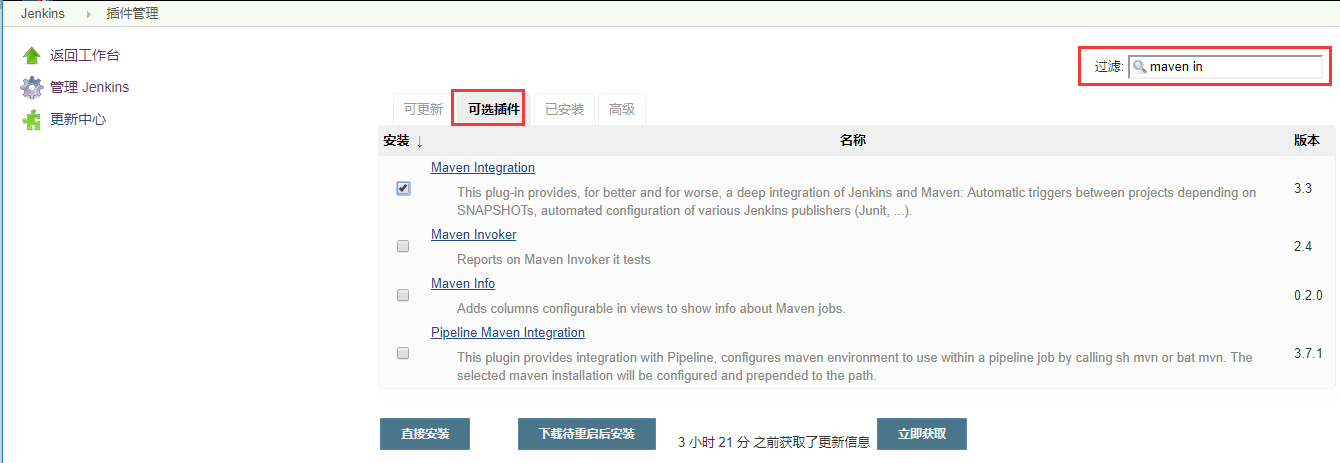
安装maven插件

新建任务
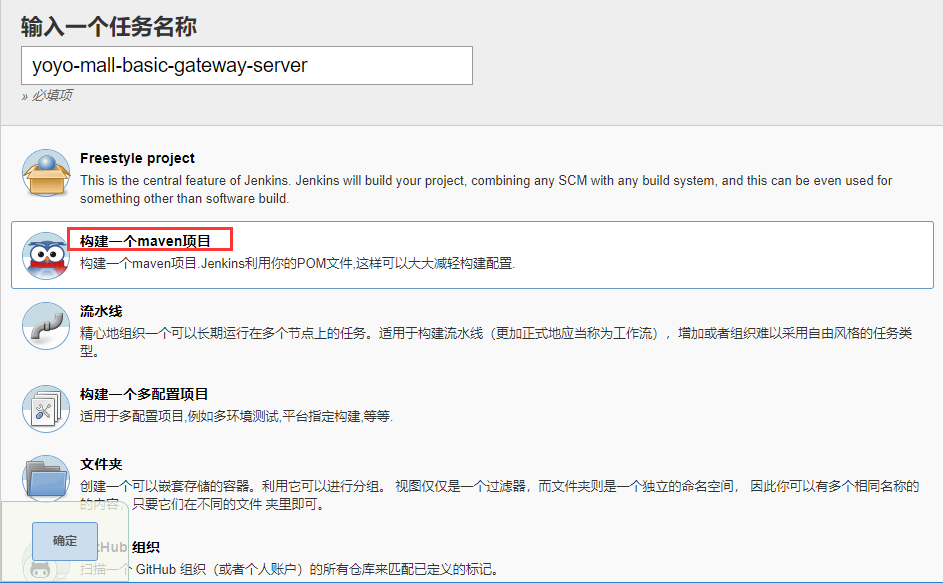
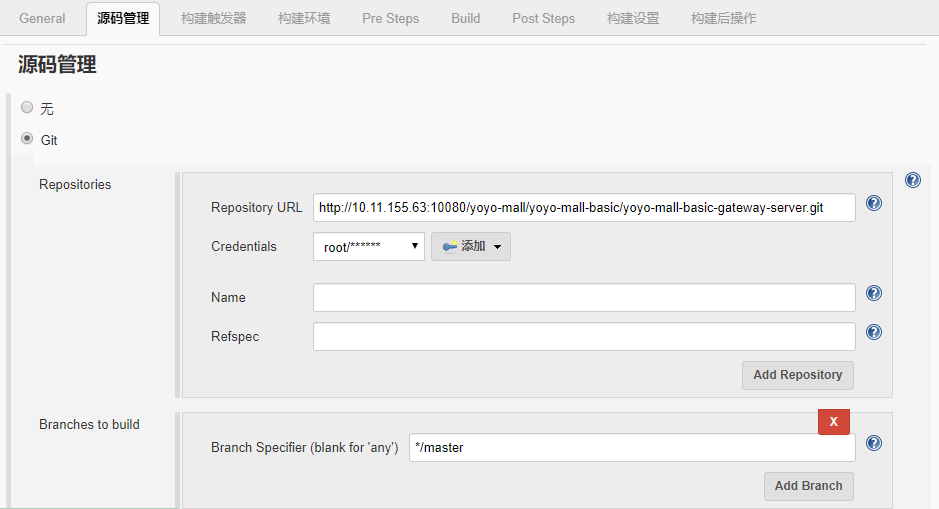
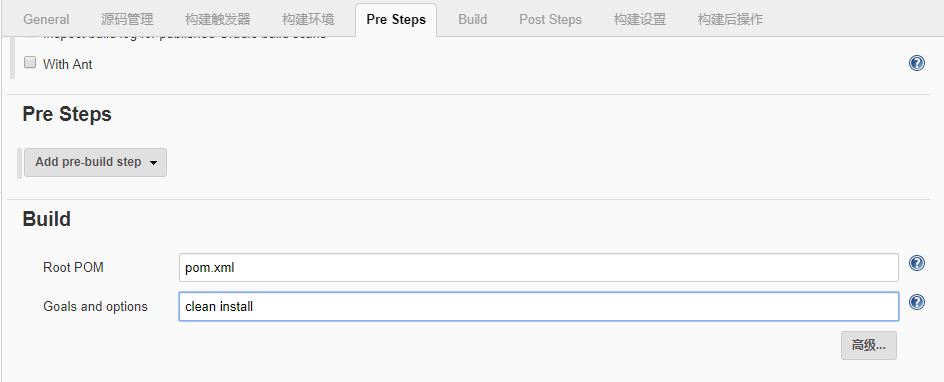
1 | #!/bin/bash |
安装VMWare
- 下载
https://my.vmware.com/cn/web/vmware/info/slug/desktop_end_user_computing/vmware_workstation_pro/15_0
需要登录,没有账号需要注册 - 输入许可证
- YG5H2-ANZ0H-M8ERY-TXZZZ-YKRV8
- UG5J2-0ME12-M89WY-NPWXX-WQH88
- UA5DR-2ZD4H-089FY-6YQ5T-YPRX6
- GA590-86Y05-4806Y-X4PEE-ZV8E0
- ZF582-0NW5N-H8D2P-0XZEE-Z22VA
- YA18K-0WY8P-H85DY-L4NZG-X7RAD
- 安装
创建虚拟机
- 下载
https://ubuntu.com/download/desktop
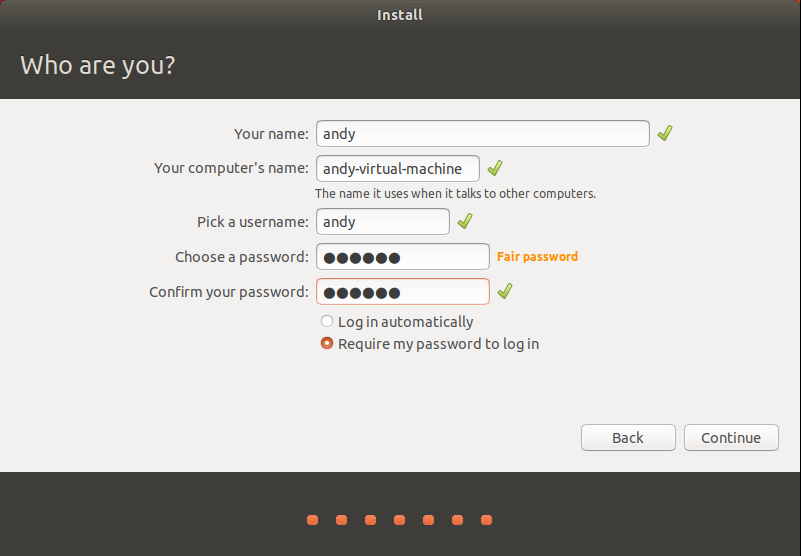
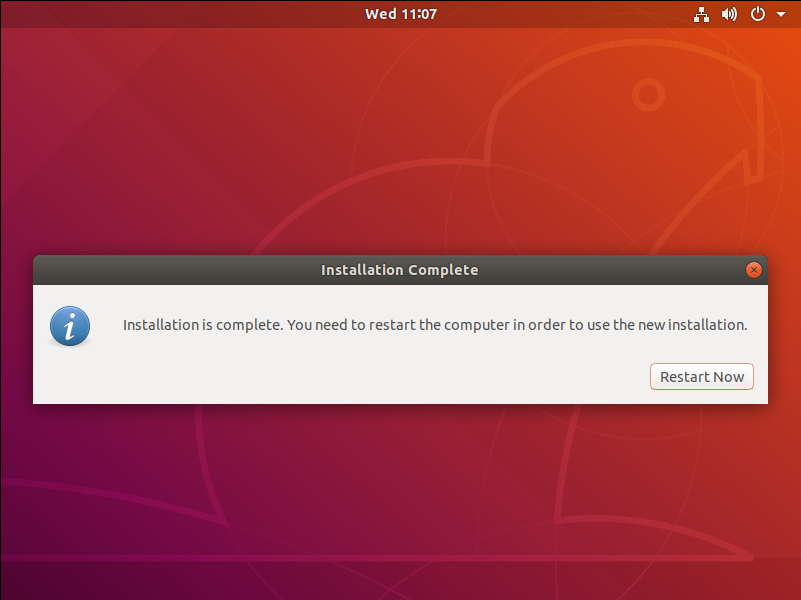
按需选择桌面版或服务器版 - 创建虚拟机(Ubuntu Desktop)


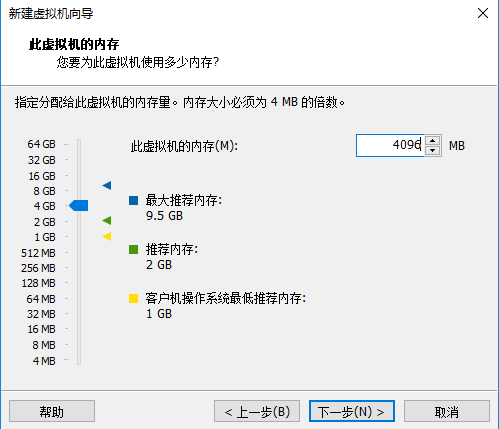
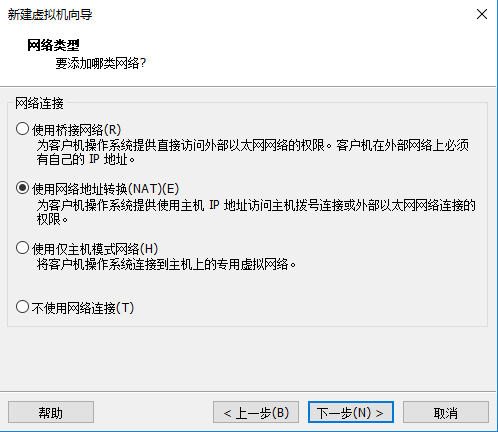
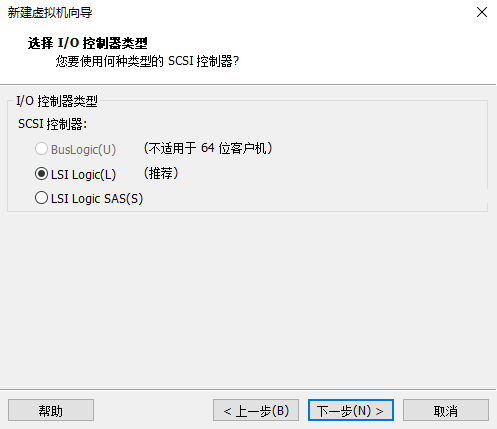
nat模式:无需额外配置,虚拟机即可联网


桥接模式
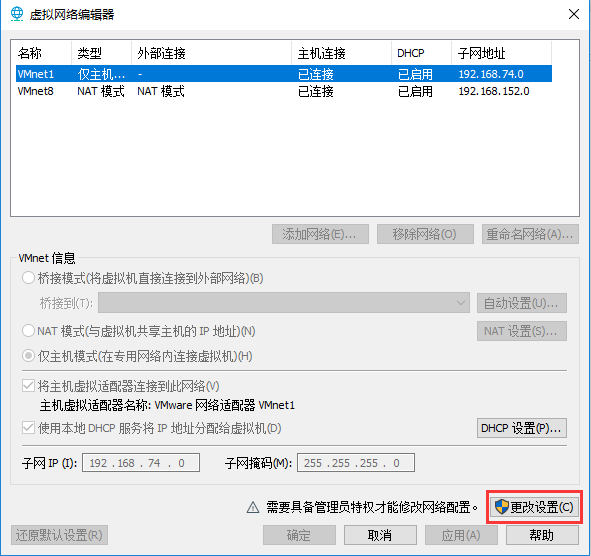
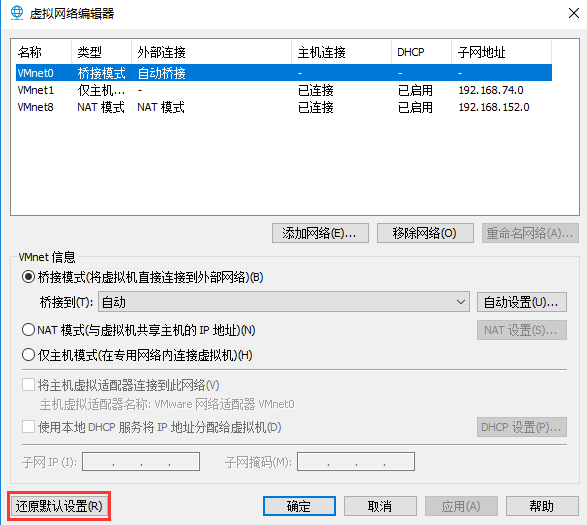
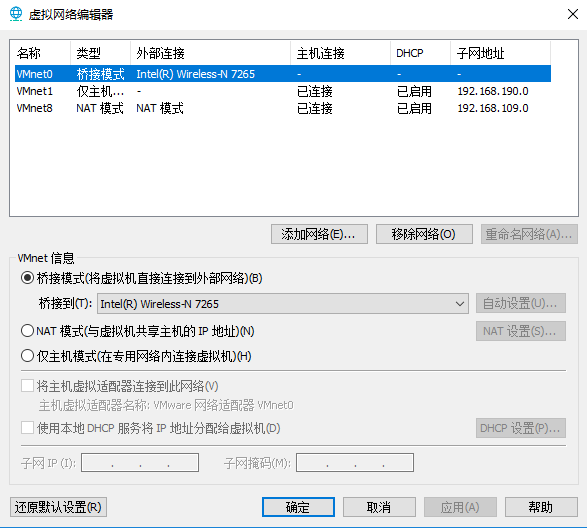
桥接到的地址选择能联网的网卡:
.png)
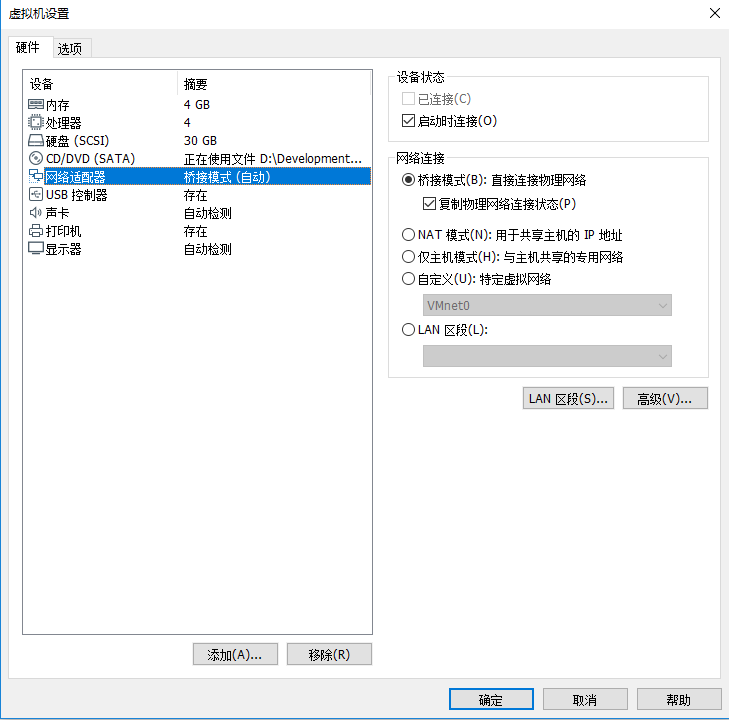
启动虚拟机
如果提示:

去控制面板中停掉Hyper-V:


更新&升级
1 | sudo apt-get update |
安装Tools
sudo apt-get install open-vm-tools-desktop
安装之后需重启生效
安装Docker
参考:https://docs.docker.com/install/linux/docker-ce/ubuntu/
sudo apt-get install apt-transport-https ca-certificates curl gnupg-agent software-properties-commoncurl -fsSL https://download.docker.com/linux/ubuntu/gpg | sudo apt-key add -sudo apt-key fingerprint 0EBFCD88sudo add-apt-repository "deb [arch=amd64] https://download.docker.com/linux/ubuntu $(lsb_release -cs) stable"sudo apt-get updatesudo apt-get install docker-ce docker-ce-cli containerd.iosudo docker run hello-world

